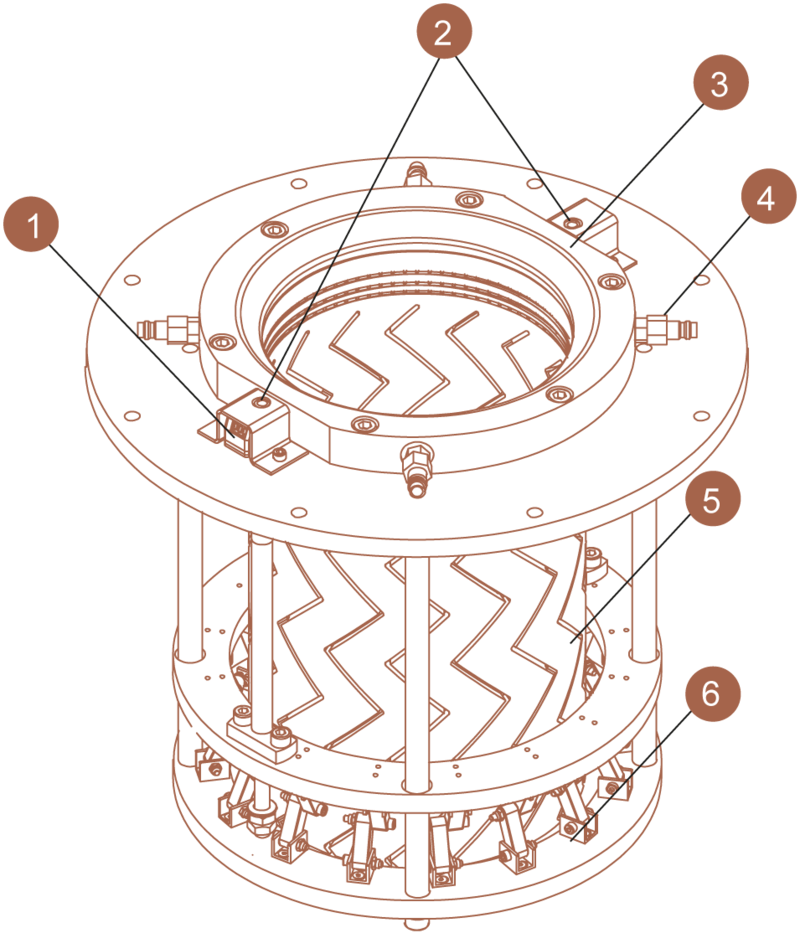
At a glance – the standard dimensions of our adjustable calibration sleeves. Diameter A is the opening dimension of the vacuum tank.
All dimensions are indicated in mm, inch-dimensions are available on request.
| Calibration | Adjustment range | ||
|---|---|---|---|
| ∅ | ∅A | + | - |
| 315 | 475 | 15 | 17 |
| 355 | 520 | 15 | 17 |
| 400 | 580 | 17 | 17 |
| 450 | 630 | 17 | 17 |
| 500 | 680 | 17 | 17 |
| 560 | 735 | 17 | 17 |
| 630 | 810 | 17 | 17 |
| 710 | 900 | 17 | 17 |
| 800 | 1008 | 17 | 17 |
| 900 | 1120 | 17 | 17 |
| 1000 | 1220 | 18 | 18 |
| 1100 | 1345 | 18 | 18 |
| 1200 | 1425 | 18 | 18 |
| 1600 | 1860 | 18 | 21 |
| 1800 | 2100 | 18 | 28 |
| 2000 | 2330 | 18 | 30 |
| 2200 | 2540 | 18 | 35 |
| 2400 | 2750 | 20 | 40 |

